
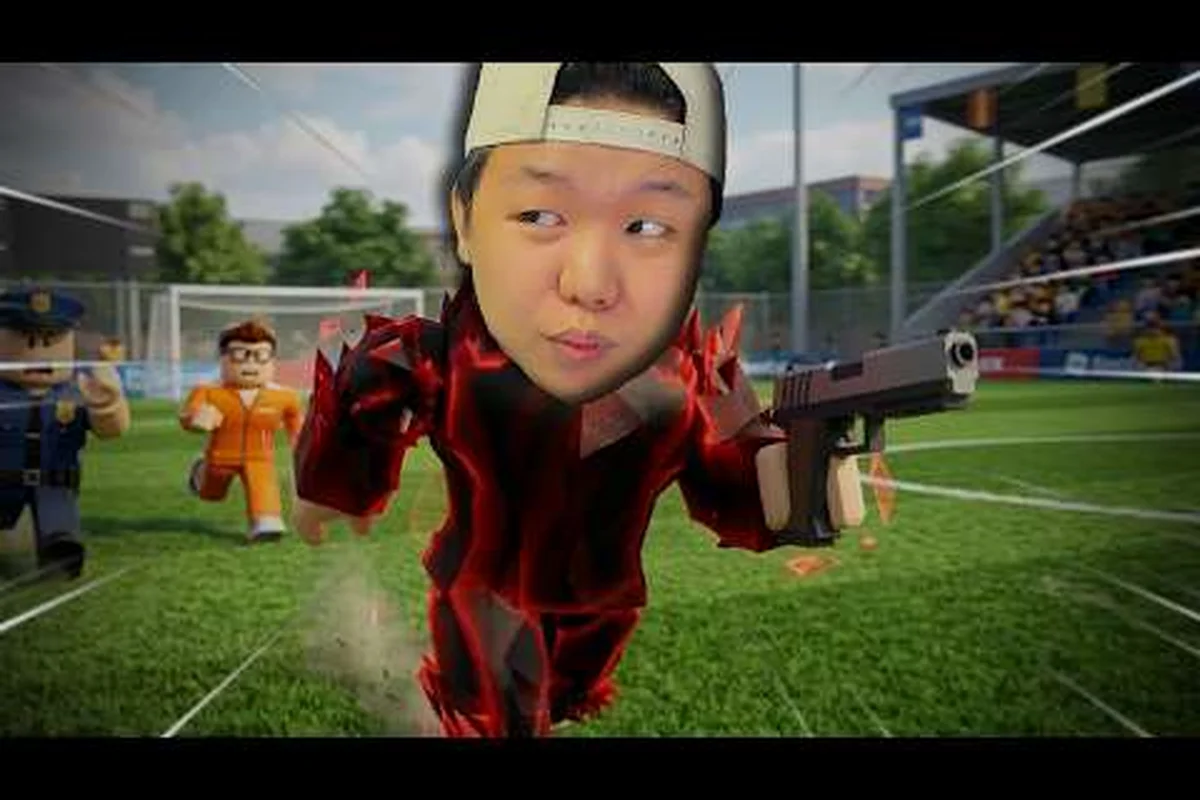
Picking illegal soccer what items to use is the single biggest lever you have over a match, because every player walks onto the pitch carrying exactly two gadget slots bound to keys 1 and 2. The right pairing decides whether you control the midfield, slam tap-ins past the AI keeper, or shut down dribblers at the edge of the box, while the wrong pairing leaves both slots gathering dust. This guide walks through how to evaluate any item, which gadget pairings dominate in current 8-player lobbies, and how to tune the loadout to your role — striker, support, or ball-winning defender.
How Items Work in Illegal Soccer
Items in Illegal Soccer come from Daily Shop rolls, priced at 1,000 Coins per pull or a Robux shortcut (community-tracked at roughly 12 to 24 Robux per roll). Each roll draws from a rarity tier, which sets the odds and shapes the meta: a Common roll is the cheapest entry point, while a Mythic roll is the rarest payout and brings the headline tools like the Jetpack. Knowing the rarity ladder is the first step in any illegal soccer gadget pairing guide, because the slot you spend on slot 1 and the slot you spend on slot 2 should reflect both your role and your wallet.
Item Slot Rules and Keybinds
You carry exactly two items per match, and the two-slot limit is enforced by the keybind layout: key 1 fires item slot one, key 2 fires item slot two. Everything else on the keyboard is reserved for soccer actions — Kick on F, Tackle on E, Lob on R, Request ball on Q, Sprint on Shift, and Jump on Space. According to AllThings.how's verified Illegal Soccer controls breakdown, the setting Automatic Item Use is what makes your loadout fire on contact instead of forcing a manual press, and turning it on is the single biggest quality-of-life unlock for any illegal soccer loadout.
Daily Shop Odds and Rarity Ladder
The Daily Shop is the only in-match source of new gear, and the rarity of the item you pull decides the ceiling of any pairing. Community-tracked odds break down roughly as follows, and the spread is wide enough that you should plan your rolls around a target role instead of chasing every new toy.
| Rarity | Approx. Roll Chance | Example Items | Loadout Role |
|---|---|---|---|
| Common | ~12.5% | Basic Shotgun, Barricade | Budget starter pairings |
| Uncommon | ~7% | Grappling Hook, Landmines | Mid-range support kits |
| Rare | ~4.7% | Rocket Punch, advanced Barricades | Hybrid offense + defense |
| Epic | ~3.5% | Premium movement tools | High-skill combo piece |
| Mythic | ~1% | Jetpack | Aerial ace / finisher |
The rarity math matters because rolling a Mythic is roughly twelve times rarer than rolling a Common, which is exactly why any responsible illegal soccer loadout tips breakdown tells new players to anchor slot one in a stable Common or Uncommon pull and reserve slot two for the dream Mythic.
Building a Two-Slot Loadout From Scratch
A two-slot loadout is a tiny kit, so every choice has to earn its place. The community rule of thumb is to combine one role tool (something that defines how you play) with one safety net (something that patches your biggest weakness), and to avoid running two items from the same category because the second slot will almost always feel redundant. The Sportskeeda item index maps every roll to a function, which is what makes the pairing exercise more about role clarity than about chasing the rarest pull.
Striker Loadout: Jetpack + Shotgun
The aerial ace pairing. Jetpack lets you float over the defense and drop onto the ball from angles the AI keeper cannot read, while Shotgun turns that aerial entry into a guaranteed shot on target. Community testing warns that jetpacking every touch makes you predictable, so the right rhythm is to glide in once, shoot, and land before a defender can punish the cooldown. For a deeper breakdown of why the Jetpack sits at the top of the meta, the illegal soccer weapon rankings tier list maps the mythic tier against the budget picks.
Support Loadout: Barricades + Rocket Punch
The all-round pairing recommended by AllThings.how's verified research. Barricades wall off lanes and force the ball carrier to detour, while Rocket Punch punishes anyone who tries to punch through the wall or sprint past you on the flank. It is a budget-friendly pairing because both items can land on Common or Rare rolls, and it works in every lobby size from 4v4 up to the chaotic 8-player free-for-alls. If you want a fuller synergy map, the illegal soccer item synergy guide breaks the same combination into striker, support, and goalkeeper flavors.
Defender Loadout: Landmines + Barricades
Pure denial. Landmines punish close dribblers who try to cut inside, and Barricades close the obvious passing lane so the only path forward is across a mine. It is the loadout to run when your team already has a striker and you would rather turn the back third into a no-go zone than chase goals yourself.
Gadget Pairings by Playstyle
Once you understand the role-slot rule, the next step is to match the loadout to how you actually play. Community data points to four playstyle buckets that cover almost every match, and each one benefits from a different combination of slot one and slot two. The wrong pairing for your style is the most common reason new players feel like their illegal soccer loadout tips guides are not translating to wins, so it pays to be honest about which bucket you fall into before you commit rolls.
Aggressive Aerial Play
Pair Jetpack with Shotgun or with a finisher item. The aerial ace template works because the Jetpack gives you positioning and the second slot gives you payoff. Avoid pairing Jetpack with Barricades — the Jetpack is an entry tool, and a static defense item just wastes the window it creates.
Midfield Engine / Box-to-Box
Pair a movement tool (Grappling Hook or Jetpack) with a disruption tool (Rocket Punch or Landmines). The Grappling Hook lets you either grab the ball or yank an opponent off a contested header, which is exactly the kind of midfield swing play that decides tight matches.
Target Striker / Poacher
Pair a shooting tool (Shotgun or another finisher) with a control tool (Barricades or a defensive item). The barricades buy you the half-second you need to receive a through ball, and the finisher turns the half-second into a goal-line tap-in.
Chaos Anchor / Disruptor
Pair Landmines with Rocket Punch or with another area-denial item. This is the loadout that wins games by making the other team afraid to enter your half, and it is the template to reach for when the lobby feels too lethal and you would rather farm interceptions than goals.
| Playstyle | Slot 1 | Slot 2 | Why It Works |
|---|---|---|---|
| Aerial ace | Jetpack | Shotgun | Positioning + payoff |
| Midfield engine | Grappling Hook | Rocket Punch | Mobility + disruption |
| Poacher | Shotgun | Barricades | Finishing + control |
| Chaos anchor | Landmines | Rocket Punch | Area denial + punishment |
Item Pairings Ranked by Lobby Size
The same pairing can feel dominant in a 4v4 match and underwhelming in an 8-player lobby, because more players on the pitch means more chances for someone to counter your slot. Community reports consistently flag the same trend: two guns in a single loadout fall off hard in big lobbies, while pairing a gun with a movement or denial tool scales much better. For the full breakdown of which combos hold up at which lobby size, the illegal soccer best loadout combos guide catalogs the strongest two-item pairings in the current meta.
4v4 Lobby Picks
In 4v4, every player has more space, and the Jetpack + Shotgun combo dominates because the airspace is open and the keeper has fewer defenders screening the shot. Barricades + Rocket Punch is the safe budget pick that still wins matches without needing a Mythic pull.
6-Player Free-for-All
In the mid-size lobby, Grappling Hook + Shotgun becomes the highest-impact budget combo. The grapple lets you swing into space the AI keeper cannot track, and the shotgun turns that swing into a guaranteed shot. Landmines + Barricades is the defensive answer for players who would rather farm turnovers than chase goals.
8-Player Chaos Lobby
In 8-player lobbies, the meta shifts toward hybrid kits. Jetpack + Rocket Punch is the consensus top pick because the Jetpack gets you out of a crowd and the Rocket Punch punishes anyone who follows. Avoid running two guns — community testing shows that two firepower tools in slot one and slot two get outrotated by any single loadout that includes a movement or denial item.
| Lobby Size | Top Combo | Budget Combo | Avoid |
|---|---|---|---|
| 4v4 | Jetpack + Shotgun | Barricades + Rocket Punch | Landmines + Barricades (overly passive) |
| 6-player | Grappling Hook + Shotgun | Landmines + Barricades | Two Shotguns (no positioning) |
| 8-player | Jetpack + Rocket Punch | Grappling Hook + Landmines | Two guns (outrotated) |
Tuning Settings Around Your Loadout
Even the best pairing in the game underperforms if the supporting settings are wrong. The two toggles that change the most are Assisted Passes and Automatic Item Use, and both are accessible from the in-match settings menu. Assisted Passes smooths out the kickoff passes so your striker receives the ball in stride instead of chasing it into touch, while Automatic Item Use fires your slot one or slot two the moment you make contact with the ball or an opponent. For a full walkthrough of the keybind layout and how each setting interacts with the loadout, the illegal soccer settings and controls guide maps every binding plus the mobile and controller equivalents.
When to Turn Automatic Item Use Off
Turn Automatic Item Use off when you are running a high-cooldown Mythic like the Jetpack, because you do not want to waste a glide on a stray tackle. Keep it on for budget picks like Barricades and Landmines, where the value comes from spamming the area-denial tool every chance you get.
When to Turn Assisted Passes On
Turn Assisted Passes on for any support or striker role, because the smoother kickoff pass directly translates into more goal-line tap-ins. Turn it off if you are running a chaos anchor loadout and you actually want your passes to scatter, since the chaos is the point.
Frequently Asked Questions
What items should I use in Illegal Soccer as a beginner?
Start with Barricades in slot one and Rocket Punch in slot two. Both items can land on Common or Rare rolls, the pairing covers defense and offense in one kit, and the playstyle is forgiving enough that new players can learn positioning without burning Mythic-tier resources. This is the same budget combo AllThings.how recommends for first-time loadouts.
Is the Jetpack worth the 1% Mythic roll chance?
Yes for experienced players, no for beginners. The Jetpack opens aerial entries that the AI keeper cannot read, but it has a cooldown that punishes spam and a learning curve that wastes a Mythic slot if you have not yet learned basic positioning. Roll the Jetpack after you have at least one stable budget combo to anchor your other slot.
Can I run two of the same item in Illegal Soccer?
No — the two-slot limit does not block duplicate items by name, but running two copies of the same tool is almost always weaker than pairing it with a complementary role tool, because the second slot duplicates a strength you already have instead of patching a weakness. Community testing consistently shows that hybrid pairings outperform double-up setups, especially in 8-player lobbies.
What is the strongest budget pairing without Mythic items?
Grappling Hook + Shotgun is the strongest pure-budget combo. Both items can land on Uncommon or Rare rolls, the grapple gives you the positioning that the shotgun needs to land cleanly, and the pairing scales from 4v4 all the way up to 8-player lobbies. It is the answer when you want illegal soccer best items together without chasing a Mythic pull.
How do I know when to swap my loadout?
Swap when your current pairing stops producing either goals or turnovers for two or three matches in a row. The most common signal is that you are running the same combo into a team that has clearly adapted — for example, opponents start baiting your Landmines or camping your Jetpack landing zone. Keep a backup pairing in mind so the swap is one settings menu away instead of a full rebuild.